I am going to walk you through my process for the latest Mail Art Postcard.
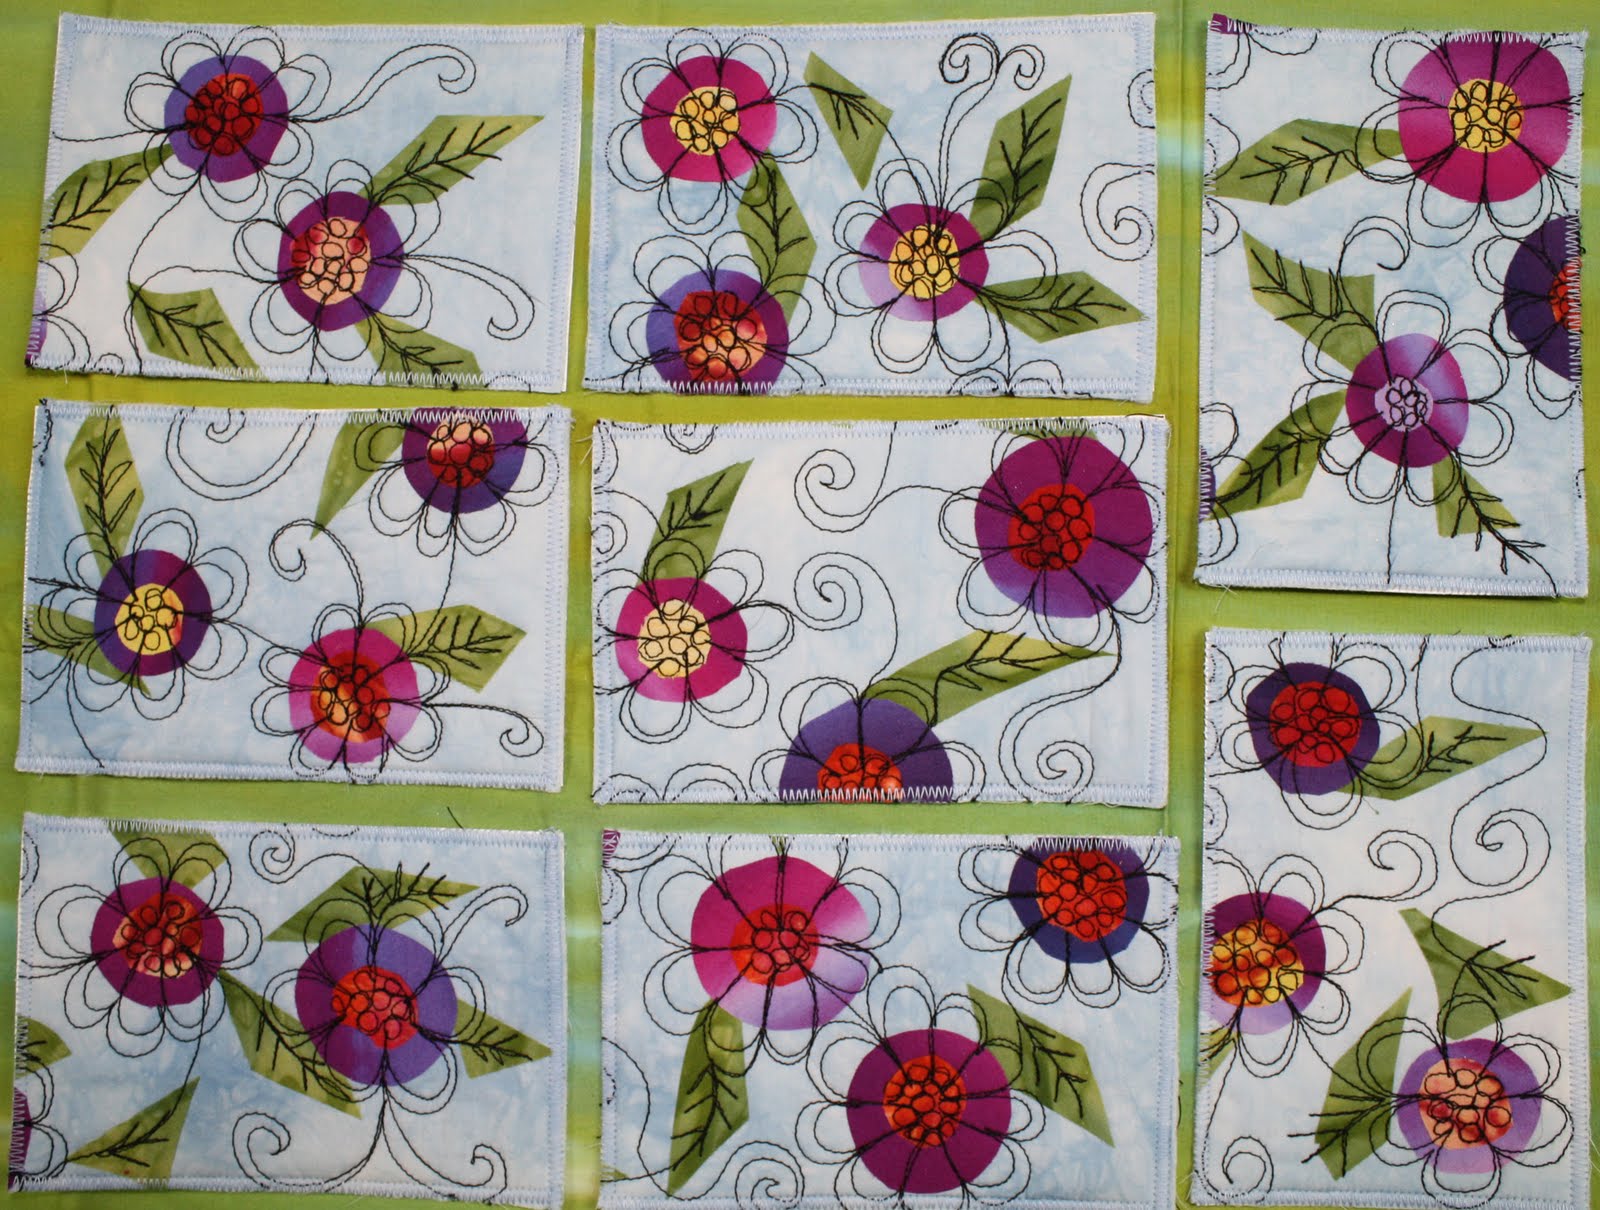
I started with a strip of hand dyed cotton - not quite a fat quarter. I keep a drawer filled with all my fused fabrics and pulled some green, which I cut into rough diamonds and fused these randomly across the blue hand dye.

Next, I added some purple hand dyed circles - I tried to place them in close proximity to the green diamonds.
Next, I cut some smaller circles from orange and yellow hand dyed fabric. These were fused in place in the center of the purple ones.

Next, I layered my fused piece with batting and did some free motion quilting with a heavy black cotton thread.

I have to credit Jeanelle McCall with the spark that inspired the style of this particular postcard.
Her article "Spring in Full Bloom" in the April / May 2011 issue of Quilting Arts, shows a technique/ style I adapted for last week's Mail Art.

I cut them into 4 x 6" pieces, and these were attached to 4 x 6" tagboard using a glue stick.
Then, when the glue dried, I did a zig zag around the edges so they would stay together in the mail!


I had a lot of extra cards this week and some are going out to family members who are celebrating birthdays this month.
 I used a Thermofax screen converted from my own photographs of butterflies (I printed both Monarch and Swallowtail butterflies), on some marbled cotton broadcloth. I attached Mistyfuse to the back, then carefully cut the butterflies out. I plan to use some of these for Mail Art, but the others will be put away for future projects.