Cynthia St. Charles Store

Monday, January 14, 2013

Machine Quilting the Sky

 The entire background is being quilted with the same thread - a Superior Polyester in pale warmish grays .The color is called Stone.

Sunday, January 13, 2013

Printing on Gray Complete!

 The printing is now finished.

 Here is the full piece (above).
I am happy with the result!

Saturday, January 12, 2013

Planning for Trees

 I have a lot of Thermofax screens to choose from for this piece.  I take a lot of pictures of trees, and have made many screens in many different sizes and orientations.  Above, I am auditioning a couple of different screens and thinking about the layout I want to go with.  I want to print the trees in white.

Inspiration, below:
This picture was taken on Christmas morning at my parent's place.  It was so sparkly!  Just beautiful!

Friday, January 11, 2013

Layers: Block Printing Over Screen Printing

 My next step is to overprint with block printing.  I cover the surface with block printing.  I use Jacquard Lumiere metallic in Pewter and Silver and mix it with Setacolor Opaque White and Setacolor Transparent Black.  I am very careful with my color placement.  I am keeping the lighter shades to the upper third and gradually going darker as I move towards the bottom and top of the piece.  I want to convey a glow from the moon, but darkness of night and I hope for the text to convey a feeling of twinkling stars that twinkle from behind the block printing.


Thursday, January 10, 2013

Screenprinting on Gray Done!

 So, here is how it looks after the screenprinting is finished.  The image above is a detail, below you can see the full view.

Wednesday, January 9, 2013

Screenprinting Text on Gray

 I have the moon fused in place and now I am screenprinting text over the entire collage of gray fabric.  I use text in my grandmothers' handwriting along with my own.  These Thermofax screens were created from handwritten pages done by my maternal and paternal grandmothers as well as some things I wrote especially for this series.  I use white pearl screenprinting ink.  In these pictures, the Thermofax screens have paint on them already - when I lift them, the image will be printed on the collage.

Monday, January 7, 2013

Moon on Gray Collage

Here is the gray collage with a moon pinned in place.  This one is for sure getting the moon.  I am just making sure I am happy with the position before I fuse it in place.  This moon was screen printed on organza with pearly white screen printing ink.  It already has Mistyfuse on the back, so once I decide on the position - I can move on to printing.

Sunday, January 6, 2013

Rocky Mountain Quilt Museum Postcards!

I am so delighted with the postcards designed by Rocky Mountain Quilt Museum for my upcoming show!  They did a great job!

Gray Collage

Here is the next gray piece in the series.  I have used up most of the handpainted gray fabric I made.  This one has a lot of raw silk in it.  The fabric had Mistyfuse attached to the back before I cut it up and collaged it on the surface of the batting.  The size is about 40 x 50". 

Saturday, January 5, 2013

Evening Walk Finished!


 Evening Walk is finished!
I plan to do another piece in this series using the gray fabric.  I have enough of the fabric for a second one. 
  I am thinking perhaps the block printing will be a different color, though - which will completely change it!
I will most likely do a different overall shape, also.  Stay tuned!

Friday, January 4, 2013

Colored Branches

 When quilting the bushes - I use deep colored variegated threads (the bushes had been printed in black.).   I stitch different colors in clumps until all the bushes are stitched.  Deep red, purple,blue, and green threads are used.  I also use two threads through a single needle for much of the bush stitching - making it pop.
The background stitching also has a colored thread.  A very pastel variegated thread.

Thursday, January 3, 2013

Screen Printing the Binding

 If you follow my blog, you know that I have gone to doing fused bindings that are printed to blend with the quilt.  (I have a tutorial on the binding here).  For this piece - I fused coordinating (left over from the collage) hand painted fabric to the binding, then did the block printing with white paint, as can be seen on the top edge of the quilt in the pictures.  I felt the binding needed bushes on it, also - so I decided to just print them directly on the (already fused in place) binding.  I put down painters tape right along the edge of the binding to protect the quilt before printing.

Once it is dry, the tape peels away easily, revealing the printed binding.  Next - I will quilt the binding to finish it off.

Wednesday, January 2, 2013

Evening Walk Layout

Here is the final layout that I have settled on.   The organza is fused in place and everything is well attached and in place.  Next - to do the machine quilting.

Tuesday, January 1, 2013

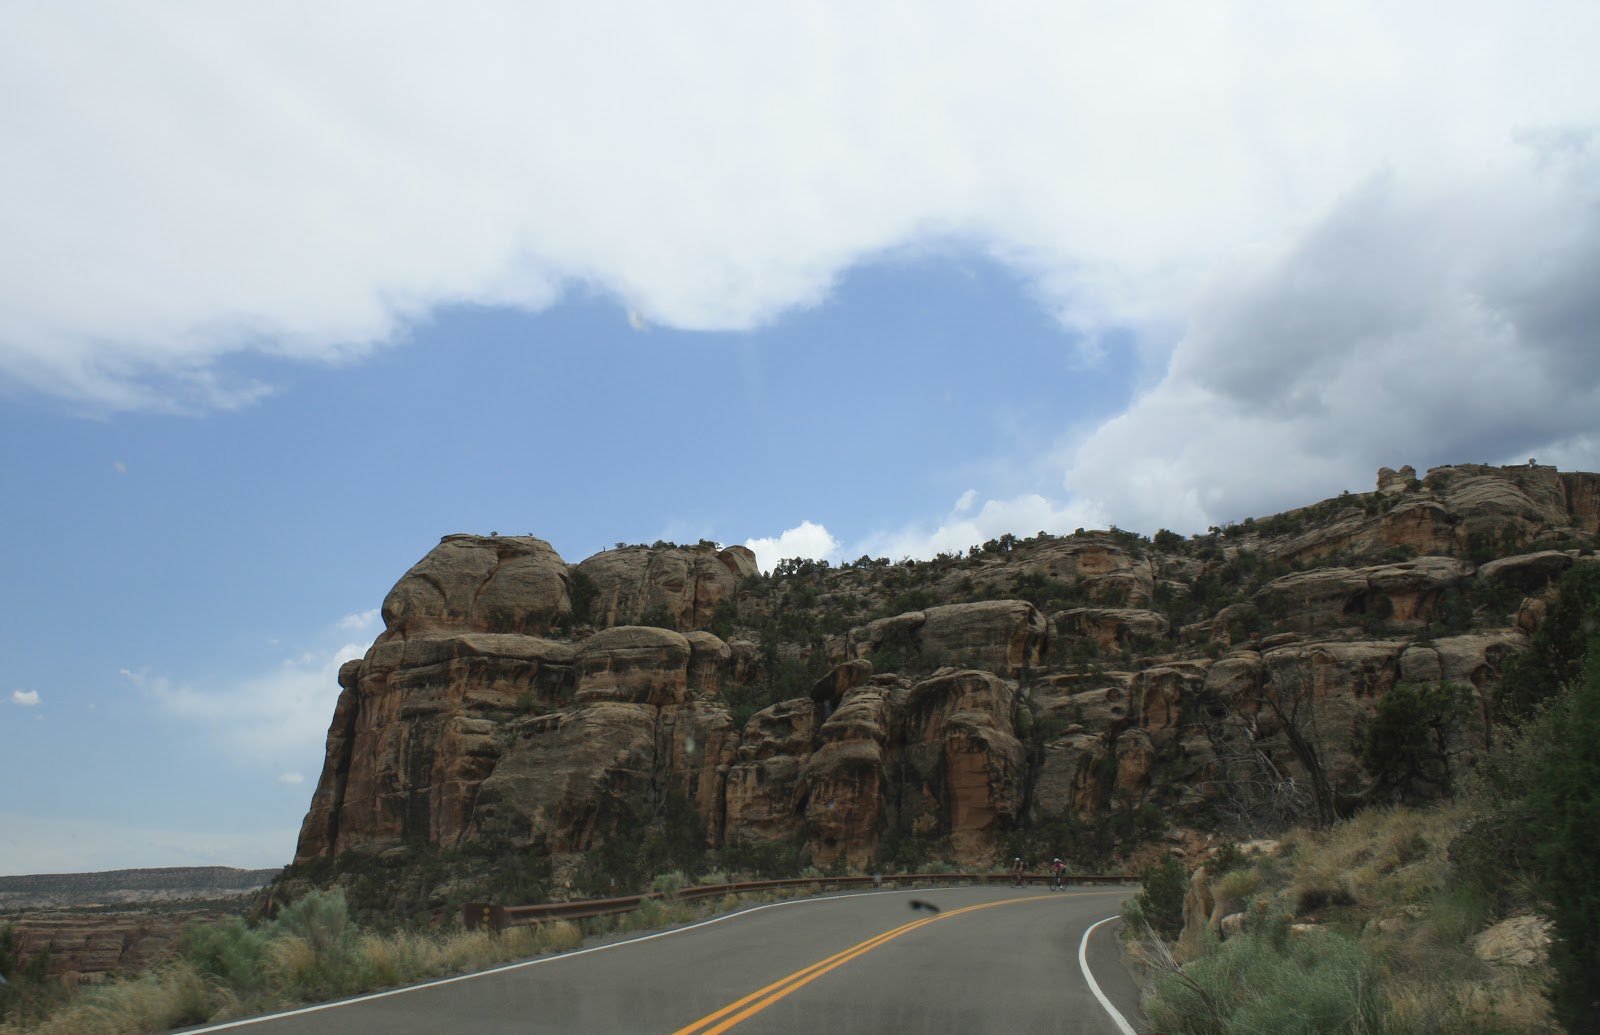
Colorado National Monument Highway

 Last June (2012), we visited Colorado National Monument.  Our time was limited, so we drove through the park in an afternoon, taking a couple of short walks to take advantage of the views.


Happy New Year!

Monday, December 31, 2012

Evening Walk - Auditioning Organza


Now that the block printing is done - it is time to put this up on the design wall and start auditioning the placement of the bushes.  I have many bushes screen printed onto natural silk organza.  These have already been treated to a Mistyfuse application on the back - so once I get the placement right - I can just fuse them in the chosen position.
Here, I am trying to decide whether to go with the bushes or the cottonwood grove. 

We will have a quiet New Years Eve with friends in Bridger.  We will probably play dominoes until midnight and we are staying overnight so we don't have to drive (only an hour) home with all the drunks on the road!

Sunday, December 30, 2012

Block Printing on Gray

 So here it is with the block printing.  I have used opaque white Setacolor paints for the printing.
Above is a detail, below - the full piece.

Saturday, December 29, 2012

Gray Collage

So, here's that gray collage!   I have been working up to doing it, but paving the way with a couple of smaller pieces.  This one is sort of a medium large size - about 50" wide.   The fabrics are all hand painted with Setacolor transparent fabric paints.  I put fusible web (Mistyfuse) on the back of all these fabrics and they are fused to the batting.  This makes a good smooth surface for printing.  The printing will be coming up next!

I just have to say - this working without color is a bit of a stretch for me.  I just don't do gray.  This is a first!

Friday, December 28, 2012

Block Printing over Gray

 I wanted to see how it would look if I overprinted the gray with blue and yellow.  I am thinking about Starry Night here - I guess it is obvious.  I just have to say that no matter how many times I do the block printing I am still always surprised by the way it completely transforms the piece.  I love the fact that this happens. . . . and especially that it is still possible to see the underlying fabric and any screen printing I may have done already.  I find this process really interesting, compelling me to continue with it.
A few yellow branches screen printed on - well, I am not crazy about the way the branches look here - they would have been better in white or very pale gray, I think - or even black.  Hmmmm.....this gives me something to ponder as I turn to a larger piece in gray.