Cynthia St. Charles Store

Monday, November 14, 2011

Mail Art Project - Week Sixty


Here is the "crazy quilt" I cut up to create the postcards. Because the satin frays so much, I glued it to 120 lb watercolor paper, then cut it to size after it was dry.. Then I stitched the edges with a satin stitch.

Today's quote:
"The statistics on sanity are that one in every four Americans suffers from some form of mental illness. Think of your three best friends. If they're OK, then it's you."
-Rita Mae Brown-

Sunday, November 13, 2011

Glacier Lake in Fresh Snow - October 2011


We didn't go all the way to the lake. I was a little concerned about the steepness of the trail to the lake - with all that snow on it.


So we had lunch on a rock above the lake. It was sunny and comfortable, but at this point I was glad I had my down vest.

Saturday, November 12, 2011

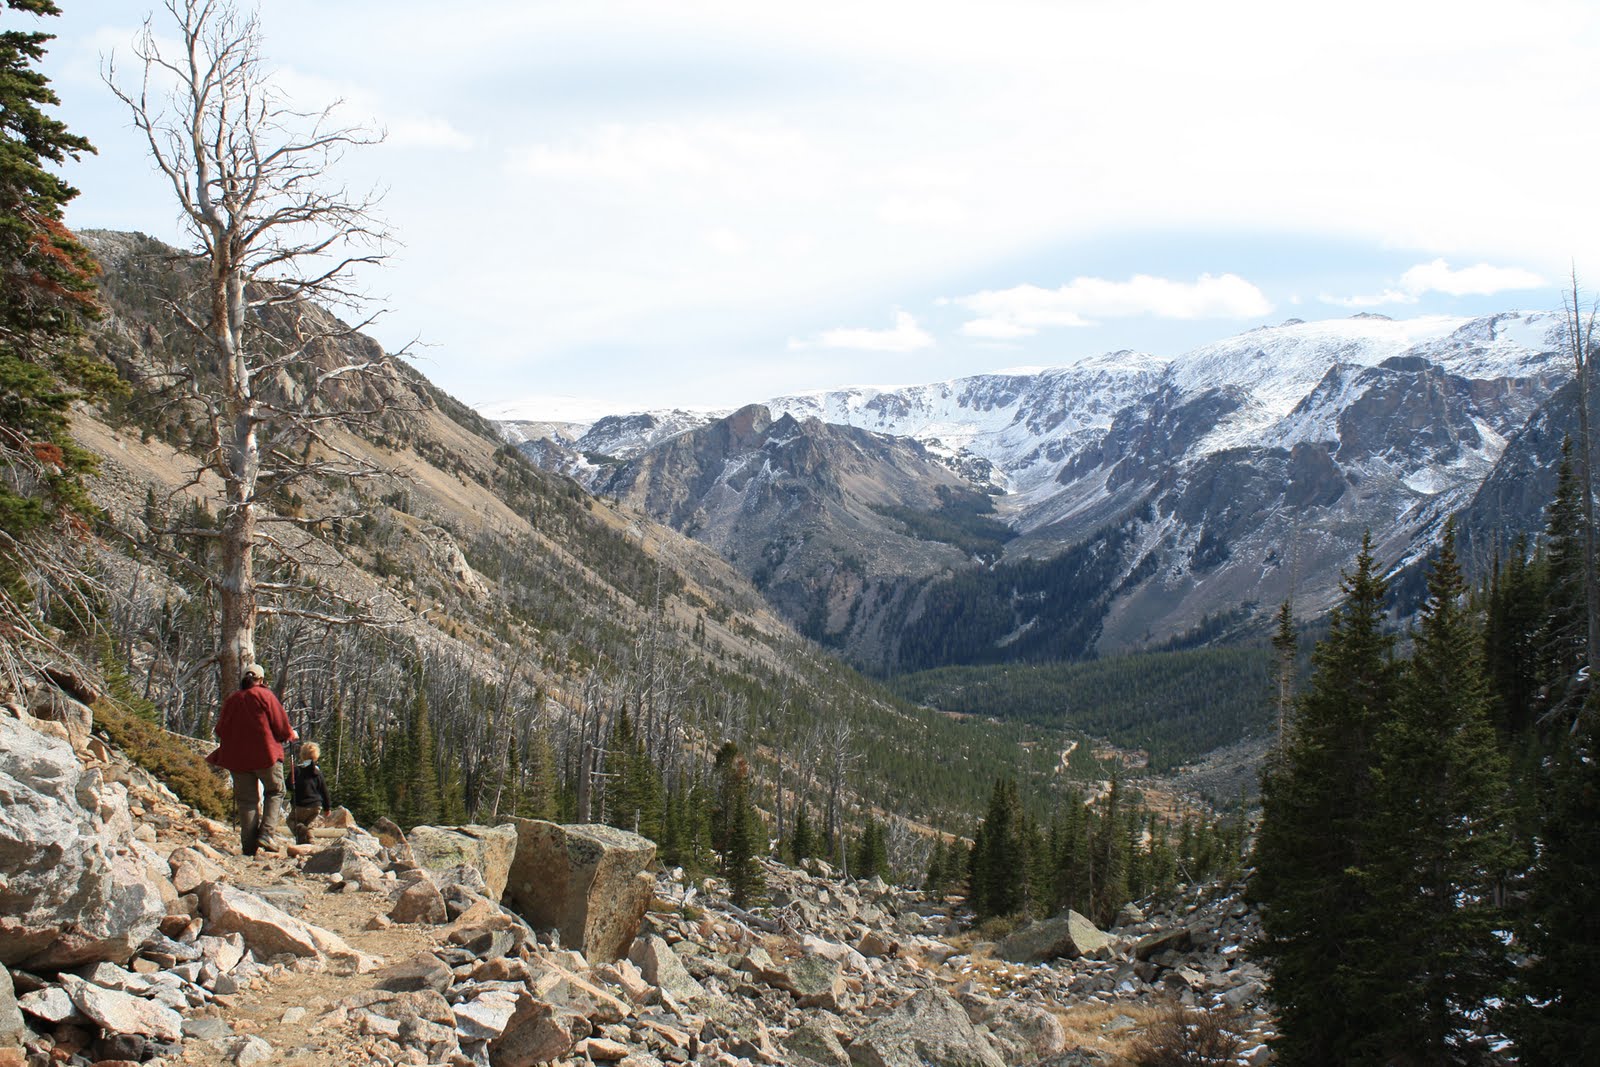
Snowy Beartooth Trail

Glacier Lake Trail

We recently took our five year old grandson Airus on an autumn hike on the Glacier Lake trail in the Beartooth Mountains.

There was a dusting of snow on the plateau. As we climbed higher, we got into some ankle deep snow.

Friday, November 11, 2011

Rustic Neutrals Cropped and Closer


I thought you might appreciate a closer look, so here is a closer detail.


And here it is with cropping - closer to what it will look like when finished.
I am actually considering adding some screen printing - I've made some prints from the painted Indian robe I saw at the Lewis and Clark Interpretive Center. I am contemplating adding a battle scene across the center. Will mull that before doing anything drastic.

Thursday, November 10, 2011

Rustic Neutrals Stitching


Well, the stitching that binds all the scraps together is now complete on this piece.
The working title for this piece shall be Rustic Neutrals.

I am pleased with the result of the stitching. It creates a lot of really nice - really rustic texture that is pleasing.


At this point, there is just the scrap layer fused to the batting - no backing on this thing yet, so I am going to have to come up with some sort of plan for quilting it. I do not want to detract from either the printing or the edge stitching, so I will have to mull that a bit.


Wednesday, November 9, 2011

Working out the Stitching


So, here it is now, with the stitching in place and a bit of cropping - the full piece above.
Below, I have two detail shots to show the stitching.

I use this free motion zig-zag quite a bit in my work. I do think this is the look I am going for on the other piece. I am not looking forward to it, though - it is tiring for me to do this repetitive side to side motion in order to create the EKG type lines.

Guess I will just do it in small spurts.

Does this piece work on any level? I wish I thought so. I guess it will become some really smashing Mail Art Postcards.

Tuesday, November 8, 2011

Practice Piece in Red


I wanted to make a smaller piece of fused scraps in order to work out how I will go about stitching things together for the larger piece I have been showing here over the past 3 days. I had the perfect sized scrap of fusible batting already. I happened to come across some pieces of deconstructed screen printing that I created several years ago. I LOVE the fabric, but have never been able to come up with the proper thing to use it for. I have cut it into smaller and smaller pieces - and still have never been able to come up with anything.

So here was my chance - I started mixing in some pieces of discharged black.

This small piece - if successful - could become a small work of art - if not - it will cut up nicely into postcards for my Mail Art Project!

So far - it is mediocre, but remember - this is a practice piece.

Monday, November 7, 2011

Mail Art Project - Week Fifty Nine

"Double Eye"


Hand dyed cotton, block printed, machine quilted.

Here is the hand carved printing block I used for this postcard.
Today's quote:

"You have to wake up in order for your dreams to come true."
-J.M. Power-

Sunday, November 6, 2011

Block Printed Background

What a difference!

I showed this piece a few days ago when it was just a lot of scraps fused to a piece of batting.
At that point, it looked like a lot of scraps fused to a piece of batting.
Then, I block printed using my hand carved printing blocks and metallic fabric paints.

Now it looks much more unified to my eye.


Details below and above.
I am still undecided about how I will stitch these pieces into place. They are not very well attached - the fusible is not holding them very well - some have come detached as I moved the piece around the room from the ironing table to the print table to the design wall. Sigh.
I may have to resort to pins to hold things once I start sewing.

I will do a practice piece to work out the process for stitching.

Saturday, November 5, 2011

Preparing for Block Printing

Yesterday, I showed a fused background I was working on. This is my first time with this technique and I was less than thrilled with the initial results. I find I always like things better after I have put my personal stamp on it, and even though all those fabrics were hand dyed, hand painted, rust dyed and discharged by my own hand - I find I am really attached to the block printing process.

So, here goes. I sorted through my box of printing blocks and pulled out those I felt would lend themselves well to this piece. Next, I will sort through my paints - and will most likely stick with the Jacquard Lumiere metallic paints for this one. Stay tuned!

Friday, November 4, 2011

Fused Background

I have been thinking about this technique for quite a while. I have admired the work of artists who begin by creating a background of fabric pieces fused to the batting. I must admit it was fun cutting and laying out the fabric pieces to create this background.
I pulled hand dyed, hand painted, rust dyed and discharged pieces from my scrap drawer, cutting them to size and placing them on a large piece of Misty Fuse. Then, I covered the whole thing with a Teflon sheet and ironed away until everything was attached.
But now there are a lot of loose edges that will need to be sewed down. I think it would look smashing if they were hand sewn, but yuck, I don't want to do it - would take too long and would be tedious since this piece is so large - currently 24 x 45". I really don't want the hard edge of machine stitching though. I have decided I will do some block printing before doing any stitching. Once it has been stitched - the thread will interfere with the printing process, so I want to get that part done first. Not sure how the printing process will go with all those loose edges!
It does look much better cropped (above). I can imagine it will be much improved by block printing, as well. Stay tuned!

Thursday, November 3, 2011

Fish Hatchery at Giant Springs


There is a fish hatchery right next to the Giant Springs. These are Rainbow and Brook trout.

Wednesday, November 2, 2011

Giant Springs, Great Falls, MT

After touring the Lewis and Clark Interpretive Center, we enjoyed the day a bit more by visiting the Giant Springs area just up the road.


This water is traveling all the way from the Belt Mountains. It remains underground for the entire trip and I believe there was information indicating it takes 50 years for the water to make the trip (I can't imagine how they know that!)
Anyway, we really enjoyed visiting this area. It was a really beautiful autumn day and we don't really get to spend much time together as a family because we are scattered all across the state. It was a good day.

Tuesday, November 1, 2011

Lewis and Clark Interpretive Center in Great Falls, MT


Recently, family members met in Great Falls to celebrate my mother's birthday. We had a nice lunch in the meeting room at the Lewis and Clark Interpretive Center, followed by a tour of this wonderful museum. Above is a view out the window of the Interpretive Center.

The location of this museum is significant because there are a series of five waterfalls in the Missouri River here - spread out over quite a few miles (can't remember how many miles 20, maybe?). The Lewis and Clark expedition had to portage around them. It was a task that they expected to take just a few days, but it ended up taking many weeks. The terrain was so very steep and rough. It was hot. There were lots of prickly pear cactus puncturing the men's moccasins and they were getting infected feet. They survived a major hail storm with baseball sized hail in the midst of the transport. Very dramatic.

Below is my favorite piece from the tour. I love this hand painted buffalo robe. It tells a story.
In my studies of rock art, I have learned that there are some "more modern" pictographs and petroglyphs in this style - at least they show horses and bows and arrows and some even show rifles.

I am so inspired by these images. I have been wanting some images like this for creating Thermofax screens! Hmmmm.....thinking about a new series!